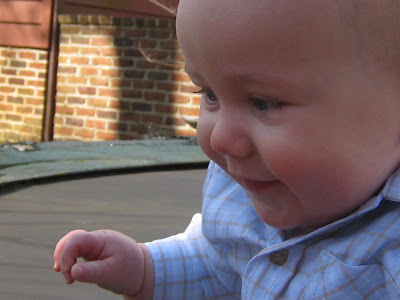
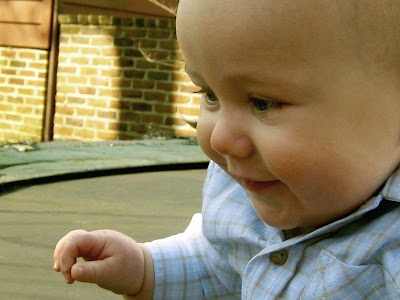
2.Make yourself a new color balance layer with the adjustment layer icon.
3.With this new layer you can now adjust the midtones, shadows, and highlights separately. Every photo needs different editing. Beware of burning certain parts with highlights and shadows. Keep values even otherwise you'll have an odd looking effects. Always enable the preview option and click OK when it looks slightly better than before.
4. Now flatten the image. Layer>Flatten Image.
5. Again, duplicate the layer with the hot key you used before. You will now have a background layer and the new one you just created.
6. Change the new layer model from normal to hardlight in the layer menu. Adjust the layer opacity to about 65%, but the opacity for your specific photo could be from 40% to 90%. Use your judgment to determine what is best for your photo.
7. Create a new layer, except this time a Levels Adjustment layer. Modify the RGB Channel. First number is used to adjust the overall dark tones and shadows contrast. Use about 25. The second number is to adjust the midtones levels in your photo. Use 1.43. Its used to lighten your picture without dodging parts. Use 250.
8. Create another new layer, except a Hue and Saturation adjustment layer. Now you can edit the tone of each color in the Edit box. Don't put the values too high.Use the preview option. This will give you an idea of how it will look.
9. Flatten all your layers once more. Now your photo should look more enhanced.
10. Go to Image>Adjustments>Variations. Now you can tone the photograph how ever you look. For my photo I used green, blue, and cyan because of the specific landscape it is. Since mine is a lake, it was an appropriate color choice. If you have a forest, use greens and yellows. If you're using a sunset, you can use reds, yellows, and blues. Try to play with different color options to see what fits best. If you need to dark or lighten your photo when you adjust the variations, do so.
Before and After


No comments:
Post a Comment