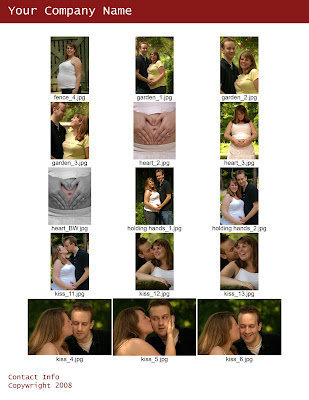
- File -> Automate -> Contact Sheet II
- De-Select Flatten All Layers
- In the Contact Sheet II dialog box set the Width to 7 and the Height to 9
- Choose the number ofimages you want on the page by changing the Columns and Rows field (the fewer amt of pics the larger they will be)
- This will take a moment to work so sit back and relax :)
- Once this is done, it's time to add your name and contact info
- Image -> Canvas Size -> 8.5 x 11
- Create a New Layer but make sure it is UNDER the layer with your photographs
- Fill with white (Edit -> Fill -> White)
- Center your images on the page
- At the top, Type in your Name
- At the bottom Type in your contact info and make sure you put your copy wright symbol down there
- Print and mail it out to your clients!
By de-selecting the Flatten Layers option, you now have the ability to edit text, add black boxes around the images to set them off, etc...

1 comment:
This is so helpful! Thanks!
Post a Comment